Last Updated: November 15, 2026
Quick Summary
Your ear suits an industrial piercing if a straight line between your upper outer rim and forward ridge passes over the flat without touching skin anywhere. A self-check with a straight object shows whether that line stays clear, but only an in-person piercer assessment can confirm it.
- A rigid bar cannot bend, so your ear has to fit the bar’s exact line.
- A very shallow or absent forward ridge is a common reason a standard bar will not work.
- A line that touches down on the flat is the most common sign a standard industrial is not your fit.
- Never push, pinch, or press a needle or jewelry through your own ear to test it.
- A faux industrial uses two separate piercings with individual jewelry instead of one connected bar.
Table of Contents
- Industrial Piercing Anatomy: What the Bar Actually Crosses
- A Safe Self-Check for Your Ear Shape and Flat Area
- Warning Signs of Wrong Anatomy for an Industrial Piercing
- What Happens During an In-Person Piercer Assessment
- Faux Industrial Piercing: Two Separate Piercings, One Look
- Floating Industrial Piercing and Other Custom Placements
- Book an Anatomy Assessment at Sideshow Tattoo and Piercing
- Frequently Asked Questions
Industrial Piercing Anatomy: What the Bar Actually Crosses
An industrial piercing is a single straight barbell that passes through two separate holes in your upper ear cartilage. Because one rigid bar connects both holes, your ear anatomy has to support that exact line. That is why suitability is not a style question.
A rigid bar does not bend, so the ear has to fit the bar.
Here is the good news. You can learn a lot about your own ear before you ever sit in a chair.
The Two Cartilage Points That Carry the Bar
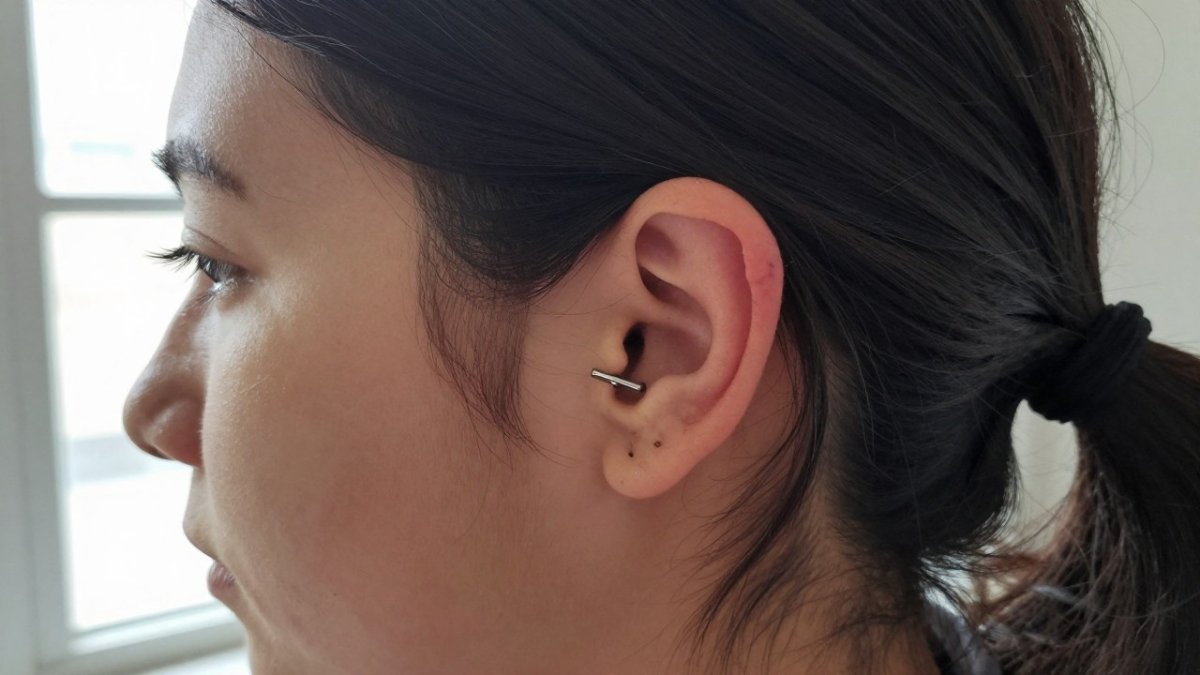
A traditional industrial connects two cartilage points, usually the upper outer rim of the ear and a ridge closer to the front. The bar runs between them in a straight line.
That line has to clear everything in its path. The bar crosses the flat area of your ear, and it cannot touch the tissue underneath. Any contact point becomes pressure, and pressure on cartilage is where trouble starts.
Why the Flat Area and Ear Protrusion Decide the Angle
The flat area is the broad, shallow bowl inside your upper ear rim.
Ear protrusion matters too. The more your upper ear angles away from your head, the more the bar’s path shifts.
This is the part most people miss: it is not one measurement that decides suitability. It is how the cartilage ridge, the flat area, and the ear’s angle work together.
A Safe Self-Check for Your Ear Shape and Flat Area
A self-check tells you whether a professional assessment is worth booking. It cannot clear you for a piercing. That same conversation can also clarify how anatomy and placement affect choosing the right size for a flatback, since fit matters alongside whether the cartilage can support the piercing.
Before you start, pull your hair back, find a mirror you can angle, and use a second mirror or your phone’s front camera for a true side profile.
The Landmarks to Find First
A traditional industrial runs between two cartilage points, and both need to be identifiable on your ear before any line makes sense:
- The upper outer rim (helix). Follow the outer edge of your ear up toward the top. The ridge a piercer would likely use sits on the back-upper curve, not the very top point.
- The forward ridge (forward helix area). This is the small ridge of cartilage closer to your face, just above the tragus and in front of the ear canal opening. It is often smaller and tighter than people expect.
- The flat (scapha and conchal bowl area). This is the broad, shallow depression between the outer rim and the inner bowl. It is the space the bar has to cross without touching down.
If you cannot clearly find the forward ridge, that is useful information on its own. A very shallow or absent forward ridge is one of the common reasons a standard bar will not work.
Reading the Bar Path
Once you have the landmarks, imagine the straight line between them. A rigid barbell cannot curve, so the line has to pass over open space for its entire length.
Work through these observations:
- Does the line pass over the flat without resting on skin at any point?
- Is there a clear gap between the line and the flat along its whole length, or does it dip and touch near the middle?
- Does the line clear the upper rim and the forward ridge, or does it sit on top of either one?
- When you turn your head or smile, does the line stay clear, or does the ear shift up into it?
- Is one ear noticeably flatter, more folded, or more protruding than the other?
A line that touches down anywhere along the flat is the single most common sign that a standard industrial is not your fit. That does not mean no piercing, it means the conversation should shift toward custom placement or a two-piercing setup.
What the Self-Check Cannot Tell You
A mirror shows surface shape. It does not show cartilage thickness, how much the tissue gives under pressure, or how the ear moves when it is manipulated.
Watch out: never push, pinch, or press a needle or jewelry through your own ear to “test” it. You can bruise cartilage or introduce bacteria, and you will not learn anything a photo would not show.
Warning Signs of Wrong Anatomy for an Industrial Piercing
Wrong anatomy for an industrial piercing usually shows up as pressure, not pain at the moment of piercing.
Look for these signs, especially in the first few weeks:
- The bar rests on the flat of your ear instead of passing over it
- One hole sits higher or lower than the two ends of the bar allow
- The skin around either hole looks compressed or pale
- Swelling does not settle after the first week or two
- The bar feels tight even before swelling peaks
- You can see the jewelry tilting rather than sitting level
Any of these can point to a placement problem or a bar that is too short.
If your ear is already angry, our guide on how to calm an irritated ear piercing that won’t heal covers what to do next.
A poor fit usually shows up as pressure rather than pain, so watch for these signs in the first few weeks.
| Warning sign | What it suggests |
|---|---|
| Bar rests on the flat of the ear | Placement problem |
| One hole sits higher or lower than the bar allows | Placement problem |
| Skin around either hole looks compressed or pale | Pressure on cartilage |
| Swelling does not settle after the first week or two | Poor fit or irritation |
| Bar feels tight even before swelling peaks | Bar may be too short |
| Jewelry tilts rather than sitting level | Placement problem |
What Happens During an In-Person Piercer Assessment
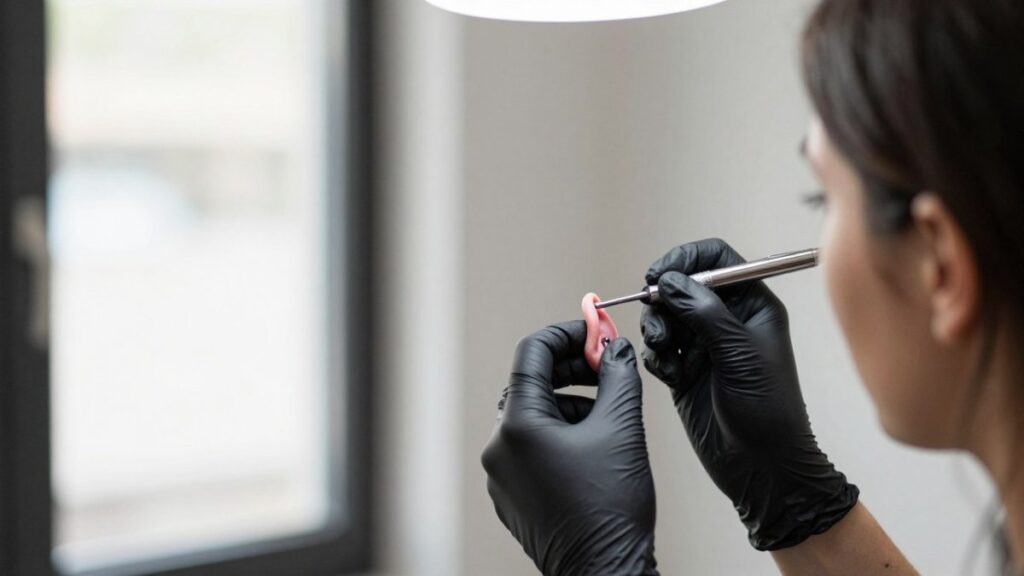
An in-person assessment is the only reliable way to know if your ear can carry an industrial. A professional piercer can check the things you cannot see in a mirror, such as the depth of your cartilage and how your ear moves.
What the Piercer Is Actually Evaluating
Each step in the assessment answers a specific question about whether a rigid bar can live on your ear without pressing:
How to Prepare for the Consult
You can make the assessment more useful by arriving ready:
- Bring the side-profile photos from your self-check, plus a front-facing photo, so the piercer can compare what you see at home with what they see in person.
- Wear your hair up or bring a hair tie so the ear is fully visible.
- Skip lotions, oils, or heavy products on the ear that day; they interfere with marking and with a clean field.
- Come with your questions written down. Ask specifically about the bar path, where the jewelry would sit relative to your flat, and what the piercer would do if the standard line does not clear.
- Ask about aftercare and downsizing before anything is marked, so you know what the healing timeline actually involves.
Questions Worth Asking
A reputable piercer will explain why a placement works or does not, and will not pressure you into a piercing your anatomy cannot hold.
If you are weighing cost alongside options, our post on affordable piercing options for college students shows what is realistic. And if you are still choosing a studio, our guide on finding the right tattoo and piercing shop covers what to check before you book.
Faux Industrial Piercing: Two Separate Piercings, One Look
A faux industrial piercing uses two separate piercings with individual jewelry instead of one connected bar. Once healed, a chain or a flexible piece can link them for the same visual effect.
This is the most common alternative when a standard bar will not clear the flat area. Because each piercing stands alone, the piercer can place them where your cartilage actually supports them.
Two separate piercings mean two healing sites, and cartilage takes patience either way.
For a sense of how different ear placements look and read on real ears, browse the art and expression of girls ear piercings.
Floating Industrial Piercing and Other Custom Placements
A floating industrial piercing is a custom placement where the bar connects two points that are not the classic front-and-back pairing. It can sit higher, lower, or at a different angle to suit your ear.
Custom placement depends on mapping the available flat area and cartilage ridges, then designing a path the bar can follow without pressure.
Other options include faux industrial and floating industrial placements, which can suit ears that do not fit a standard bar.
Book an Anatomy Assessment at Sideshow Tattoo and Piercing
The only way to know for certain whether your ear suits an industrial is to have a professional look at it in person. Photos and self-checks narrow the question.
At Sideshow Tattoo and Piercing, we use only high-quality jewelry for piercing services.
If you are still choosing a studio, our guide on finding the right tattoo and piercing shop covers what to check before you book. Ready to get a real answer about your ear? See why clients choose us, then come in for an assessment and leave with a clear plan for your piercing.
Your ear might be perfect for an industrial, or it might be built for something better. Either way, you deserve a real answer from a trained eye instead of a guess in the mirror.
Frequently Asked Questions
What ear anatomy is good for industrial piercings?
A suitable ear has a pronounced upper cartilage ridge with enough curve to anchor both ends of the bar, plus a flat area deep enough that the barbell clears the skin between the two holes. The ear also needs enough protrusion from the head that the bar sits away from the skull. These traits interact: a strong ridge with a shallow flat can still cause bar pressure. A professional piercer confirms suitability in person before any needle touches cartilage.
Can I get an industrial piercing if my ears are small?
Ear size alone does not rule out an industrial piercing. What matters is whether the upper ridge has two workable points and whether the flat area gives the bar clearance. Small ears with a well-defined ridge can sometimes support a traditional industrial, while larger ears with a shallow flat may not. A piercer assessment is the only reliable way to know, and a faux industrial or floating placement may fit better if the standard bar will not.
Can an industrial piercing heal if the bar touches the flat of the ear?
Constant contact between the bar and the flat of the ear creates pressure that slows healing and raises the risk of irritation, migration, and embedding. Cartilage heals slowly, and steady pressure on the tissue works against it. If a bar rests on the flat, the placement or jewelry fit is wrong for that ear. A piercer can adjust the angle, switch to a custom-bent bar, or recommend a faux industrial using two separate piercings.
What are alternatives if my ear anatomy does not suit a traditional industrial piercing?
A faux industrial piercing uses two separate piercings connected by a chain or a custom-bent bar, so each hole sits where the ear can support it. A floating industrial piercing places the bar across the upper ear without resting on the flat. Both options depend on your specific anatomy, so ask a piercer to map the placement on your ear. Custom placement and jewelry fit matter more than forcing a standard bar.