Table of Contents
- What You’ll Need Before Choosing a Placement
- Why Tattoo Placement Matters More Than You Think
- How to Assess Your Pain Tolerance by Body Part
- Tattoo Design and Body Flow: Making the Art Work With You
- Hiding Tattoos for Work: Career-Proof Placement Choices
- How Skin Changes Affect Your Placement Long-Term
- Common Mistakes to Avoid When Choosing Placement
- Frequently Asked Questions
Last Updated: September 21, 2026
What You’ll Need Before Choosing a Placement
Learning how to pick tattoo placement starts with preparation, not inspiration. Tattoo placement is the deliberate process of matching a design to a spot on your body based on visibility, pain, anatomy, and how your skin will age. Before you commit, gather four things: a clear design concept, honest answers about your pain threshold, a realistic view of your wardrobe and work environment, and a consultation with a professional artist.
Why Tattoo Placement Matters More Than You Think
Placement is not a cosmetic afterthought. It determines how much of your tattoo the world sees, how your body handles the ink over decades, and how you feel about the piece on difficult days. The American Academy of Dermatology’s guidance on tattoo safety and skin health notes that skin varies dramatically across the body, and those differences affect healing and long-term appearance.
Visibility and Professional Concealment
Concealment drives more placement regret than pain does. A forearm piece reads as expressive in a creative office and as a problem in a conservative one, so map your placement against your actual career, not your fantasy one. In healthcare, finance, education, or client-facing roles, the safest zones are the upper back, ribs, upper thigh, and upper arm above a short sleeve line.
The Psychological Impact of Placement
Body art changes how you see yourself, and placement controls how often that feeling surfaces. A rib piece is private; a hand tattoo is public and becomes part of every first impression. Neither is wrong, but they produce very different psychological experiences. If you are not ready for strangers to comment on your ink, start somewhere a shirt can cover.
How to Assess Your Pain Tolerance by Body Part
Pain is the most overthought factor in placement and the least decisive one. Most people tolerate tattoos better than they expect, and sessions are manageable with breaks, breathing, and a good artist. What varies is nerve density, skin thickness, and proximity to bone: fleshy areas with fewer nerve endings hurt less, bony, thin-skinned areas hurt more.
The Mechanism Behind the Pain
Three variables drive how a given spot feels:
- Nerve density. Areas with more free nerve endings, fingertips, ribs, the sternum, the inner wrist, fire more signals per needle pass. Areas with fewer, like the outer upper arm and outer thigh, feel duller.
- Skin thickness and padding. Fat and muscle cushion the vibration, while thin skin over bone, shin, collarbone, ankle, spine, transmits it straight to the periosteum, which is why those spots feel sharper.
- Movement and proximity to joints. Elbows, knees, and the ditch behind them flex constantly, so the artist works across a moving surface while the client holds an awkward position, adding fatigue to the discomfort.
Tattoo Placement Pain Chart: What to Expect
A tattoo placement pain chart ranks body areas by typical discomfort. Use it to sequence your first tattoo sensibly.
| Pain Level | Body Areas | Why It Feels That Way | Best For |
|---|---|---|---|
| Low | Upper arm, forearm, outer thigh, shoulder | Thick muscle, fewer nerve endings, easy to hold still | First tattoos, longer sessions |
| Moderate | Calf, upper back, hip, chest | Mixed muscle and thinner skin, some stretch | Second pieces, medium designs |
| High | Ribs, spine, ankle, foot, inner bicep | Thin skin over bone or dense nerves, awkward positioning | Experienced clients, small designs |
| Very high | Elbow, knee, armpit, neck, hands, sternum | Constant joint movement, surface nerves, bone contact | Small pieces, short sessions |
Session Length Changes the Math
A spot’s pain rating is only half the story, how long you sit matters just as much. The first 30 to 45 minutes feel sharpest, the middle stretch is most tolerable, and the final hour is where fatigue makes everything worse. A two-hour rib piece is often more bearable than a five-hour upper-arm piece. If your design is large and your placement sensitive, ask about splitting it into multiple sessions.
How to Test Your Own Tolerance Before You Commit
You do not have to guess. A few practical steps give you real information:
- Start with a low-pain area for your first piece even if you eventually want a rib or hand tattoo. Learning how your body responds to ink on an easy spot makes the harder placement far more manageable later.
- Book a shorter session first. A one- to two-hour appointment on a moderate spot tells you more about your threshold than any chart.
- Ask about numbing options. Many artists offer topical numbing creams or use them mid-session; ask during your consultation whether that is available and how it affects line quality.
- Eat and hydrate beforehand. Low blood sugar amplifies pain perception and increases the odds of feeling lightheaded, so eat a real meal an hour or two before your appointment.
Book your first session for a low-pain area even if you eventually want a rib piece. Learning how your body responds to ink on an easy spot makes the harder placement far more manageable later.
Do not choose a high-pain placement for a large, detailed design just because you like the location. A sensitive spot plus a long session is the combination most likely to end in an unfinished piece or a rushed final hour.
Tattoo Design and Body Flow: Making the Art Work With You
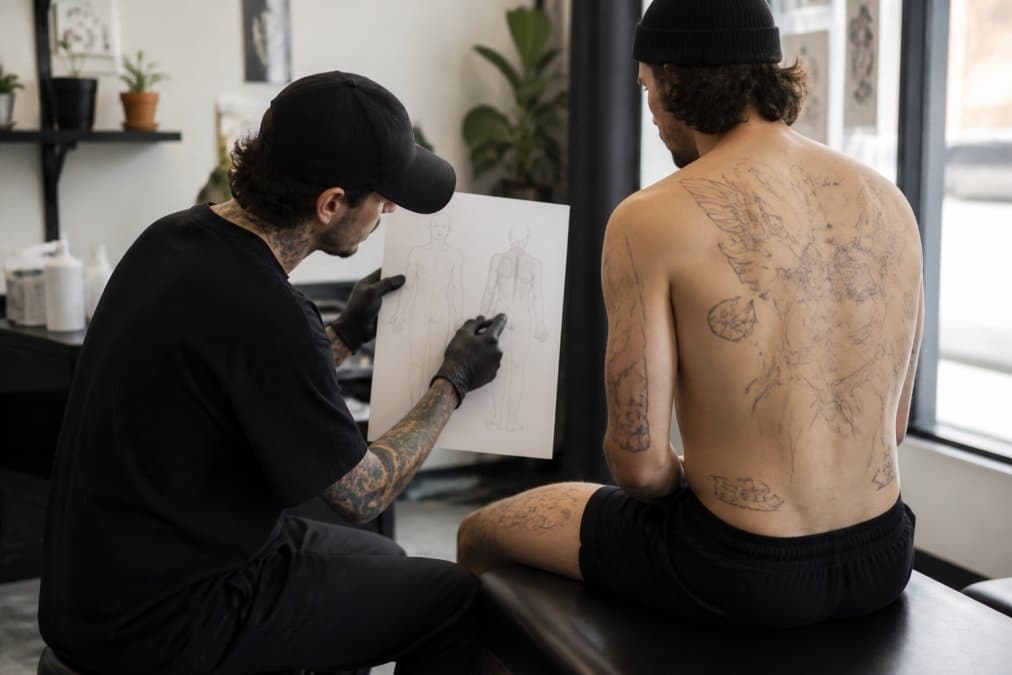
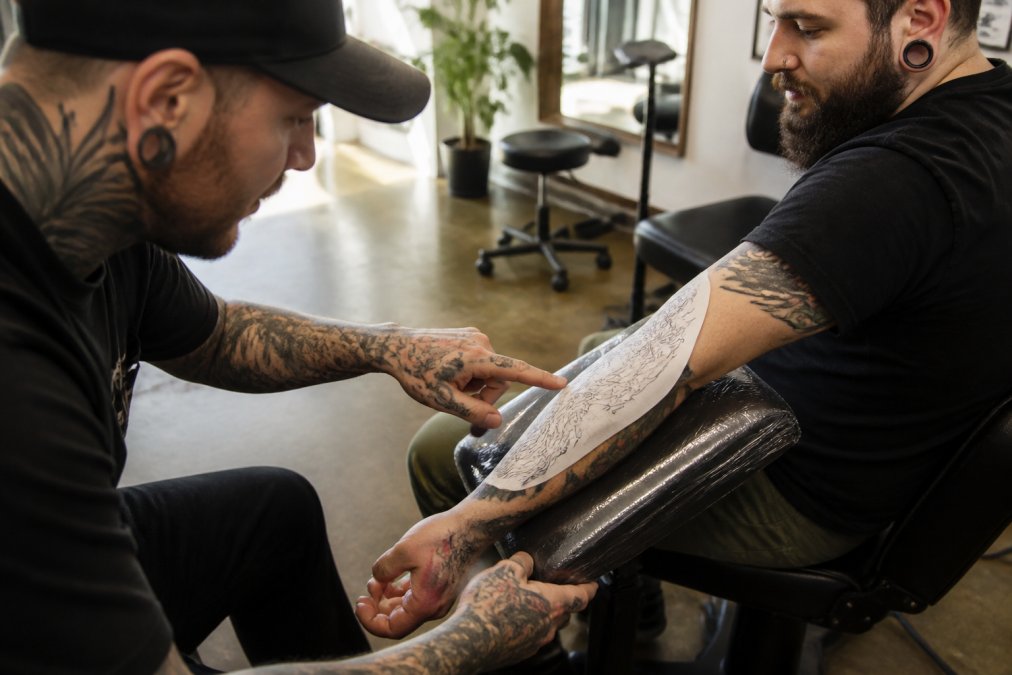
Tattoo design and body flow is the practice of shaping artwork to follow your natural contours, muscle lines, and movement rather than fighting them. A design that looks flat on paper can look distorted once wrapped around a limb. Your artist should adjust proportions during the stencil stage, not after the outline is in.
Design Scale, Anatomy, and Aesthetic Balance
Scale is where most first tattoos go wrong. Fine detail needs room; a design with twenty small elements crammed into a two-inch space will blur into a smudge within a few years. Anatomy dictates direction: arm pieces often flow with the muscle, spine pieces run vertically, and circular designs sit better on shoulders or knees than on flat planes. Leave negative space so the tattoo can breathe, and when in doubt, go larger, ink spreads as skin ages, and small, dense designs lose definition first.
Shrinking a detailed design to fit a small placement is the most common mistake artists see. The consequence is a blurred, unreadable tattoo that needs a costly cover-up or removal within a few years.
Hiding Tattoos for Work: Career-Proof Placement Choices
Hiding tattoos for work is easier when you plan the placement before the appointment, not after. The rule is simple: if a standard short-sleeve shirt and knee-length trousers cover it, you control who sees your ink. That makes the upper back, ribs, stomach, upper thigh, and upper arm the most career-flexible zones, while forearms, hands, neck, and lower legs are visible in most professional settings.
How Skin Changes Affect Your Placement Long-Term
Your tattoo ages with your skin, and some placements age far better than others. Areas with firm, stable skin hold ink cleanly for decades, while areas that stretch, sag, or see constant sun lose sharpness faster. This is where the biggest long-term regrets originate.
Aging, Skin Elasticity, and Anatomical Distortion
Anatomical distortion is the slow change in a tattoo’s shape as the body underneath it shifts, the ink stays, but the canvas moves. A few patterns show up repeatedly:
- Weight fluctuation. The stomach, love handles, and inner thighs expand and contract more than any other zone. A stomach design can stretch dramatically through pregnancy or significant weight change and rarely returns to its original proportions.
- Muscle growth and loss. The biceps, chest, and calves change volume with training, so a tattoo centered on a developed bicep can shift off-center or sag if the muscle shrinks. The outer upper arm is more forgiving than the inner bicep.
- Gravity and elasticity decline. Skin loses collagen and elastin over time, and the areas that sag first, inner upper arm, under the chin, the lower abdomen, distort a tattoo most. The upper back, shoulder, and outer thigh stay relatively taut.
- Joint creasing. Elbows, knees, and the ditch behind them fold thousands of times over a lifetime, so straight lines placed across a crease gradually break up.
Sun Exposure by Body Region: Mapping UV Risk
Sun exposure is the single biggest threat to ink longevity. Ultraviolet light breaks down pigment, and a tattoo that spends summers uncovered will fade years before a covered one. Not all placements carry the same UV load:
| UV Exposure | Body Areas | Practical Implication |
|---|---|---|
| High | Forearms, hands, neck, calves, ankles, feet | Fade fastest; need daily sunscreen and likely touch-ups sooner |
| Moderate | Upper arms, shoulders, upper back, chest | Exposed in warm weather; protect seasonally |
| Low | Ribs, stomach, upper thigh, lower back | Usually covered by clothing; hold color longest |
Clothing Friction and Healing by Fabric
Friction matters as much as sun. Waistbands, bra straps, and shoe edges rub against ink daily, and that constant abrasion dulls fine detail over years. During the healing window, typically two to four weeks for the surface, friction can pull at scabbing and disrupt fresh line work.
- Denim. Rigid and unforgiving, and it holds dye and bacteria, so a fresh tattoo on the hip, lower back, or upper thigh rubbing against a waistband or pocket seam is a real infection risk. Loose-fitting denim or a skirt for the first two weeks is safer.
- Wool. Coarse fibers catch on scabs and can pull them off prematurely, lifting ink and leaving patchy areas. Avoid sweaters and wool trousers over a healing rib, shoulder, or thigh piece until the surface has closed.
- Synthetic athletic wear. Tight spandex and compression fabrics trap sweat and heat, softening scabs. If your placement sits under a sports bra, waistband, or compression sleeve, plan a break from intense training during the first two weeks.
- Cotton and loose knits. The most forgiving options during healing, breathable, soft, and less likely to catch on scabbing.
Placements that stay covered, avoid constant rubbing, and sit on stable skin hold their detail longest. Sun, friction, and body change, not time alone, are what fade and distort a tattoo.
Common Mistakes to Avoid When Choosing Placement
The same errors show up in consultation rooms again and again. Avoiding them saves you money and regret.
- Choosing visibility for your current job without considering your next one
- Picking a spot because a friend’s tattoo looked good there, ignoring your own anatomy
- Ignoring clothing friction from waistbands, straps, and shoes during healing
- Underestimating sun exposure on forearms, calves, and ankles
- Cramming fine detail into a small space where it will blur
- Skipping the consultation and letting a walk-in decide placement for you
- Forgetting that healing is harder on spots you cannot easily keep clean and dry
Frequently Asked Questions
What is the best placement for a first-time tattoo?
Your first tattoo should go somewhere you can easily see and care for, like the upper arm, forearm, or calf. These spots have moderate nerve endings and enough surface area for most designs. They also heal well because they get airflow and are easy to keep clean. Talk through your daily activities with your artist so they can suggest a spot that fits your routine.
What are the most painful areas for a tattoo?
Ribs, armpits, groin, and the top of the foot tend to be the most painful because they have thin skin and dense nerve endings. Bony areas like the collarbone and spine also hurt more. A tattoo placement pain chart helps you compare regions before you commit. If you want a low-pain first experience, start with the outer forearm or upper back.
Should I consider my career when choosing tattoo placement?
Yes. Even with relaxed dress codes, some workplaces still have policies about visible ink. If you want the option to hide your tattoo for work, choose spots covered by a short-sleeve shirt or pants, like the upper arm, thigh, or torso. Think about the industries you might enter in the next decade, not just your current job, before you pick a highly visible location.
How does body movement affect tattoo design and placement?
Muscles flex, joints bend, and skin stretches, which can distort a design over time. Your artist should place the stencil while you are in a natural position, not flexed or twisted. For joints like elbows or knees, simpler designs hold their shape better than intricate symmetrical patterns. Body flow matters most on curved areas like shoulders, hips, and calves.